I Am The Bread of Life
I Am The Bread of Life
Fermentation and Philosophy: John 6 is one of the most discussed chapters in the Gospel according to John, because of the Eucharistic nature of the language.

On the Theological Aspect of a Slice of Bread:
The complex nature of the metaphors and imagery used in these verses, as well as the richness and power of the ensuing communication, are often overlooked. It focuses on Jesus feeding a large crowd both physically (John 6:1-21) and spiritually (John 6:22-59) by the Sea of Galilee (John 6:1, 59). The chapter concludes with a discussion between Jesus and his disciples on their loyalty towards him (John 6:60-71). In John 7 a new cycle of events illustrates different reactions to Jesus.
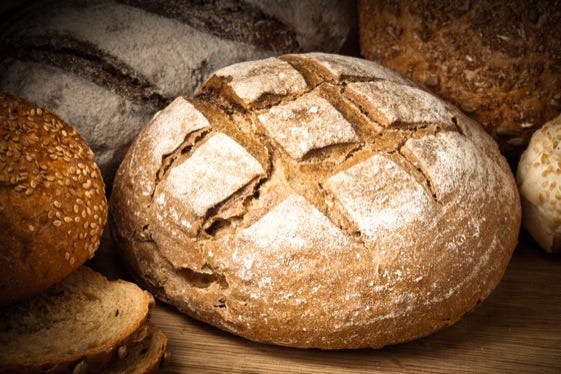
In Jewish Biblical times, bread (“lechem”) was such an important element of the diet that sometimes the word was synonymous with food in general. Indeed, the prophet Ezekiel imagines God’s meting out punishment by breaking the “staff of bread.” Its importance helps explain why special grain offerings featuring cakes (unleavened) were offered as sacrifices in the Temple. Remnants of bread’s importance survive in that the blessing for bread retains its primacy in the hierarchy of food blessings and that full grace after meals (birkat ha-mazon) is not required unless bread has been eaten.
When baking large amounts of bread, Jewish law requires that a small portion be set aside – and later burned or buried – in remembrance of gifts to the Temple described in the Bible.
“When you enter the land to which I am taking you and you eat of the bread of the land, you shall set some aside as a gift to the Lord. As the first yield of your bakingyou shall set aside a loaf as a gift; you shall set it aside as a gift like the gift from the threshing floor. You shall make a gift to the Lord from the first yield of your baking, throughout the ages.”
—Numbers 15:18-21
On the Philosophical Aspect of a Slice of Bread:
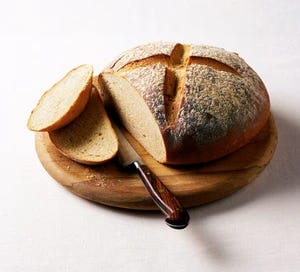
I cut into the freshly baked loaf of bread. Steam escapes the chamber that the bread form. I broke into the chamber, releasing the steam that helped bake the bread. The aroma fills the air; I breathe the smell in. Nothing like fresh bread. Nothing like it. I look down at the slice of bread, and I cannot help to think about everything that went into that slice of bread.
Homemade Bread is one of my favorite foods of all time. There really is nothing quite like a warm slice of fresh bread served with a thick pat of butter on top. This recipe is perfect. It’s simple to follow, takes about 2 hours to make, and yields 2 loaves of wonderful bread. It’s quite versatile too, so feel free to use part whole wheat flour if you’d like. Brush butter on top when it’s out of the oven and partially cooled and everyone will thank you.
I love to cook and I am a pretty confident baker, however, one thing I’ve struggled with is finding a really incredible bread recipe. I know- kind of funny being as there are a zillion out there and bread is one of those ‘basics” that almost anyone can make themselves. Nevertheless, I keep trying new recipes and have finally found one I really like and have gotten good results from! Even better- it’s easy and from start, to finish it takes just over 2 hours!
STEP 1: ASSEMBLE BREAD INGREDIENTS
You’ll need warm water, granulated sugar, instant OR active dry yeast, salt, vegetable or canola oil, and flour. That’s it!
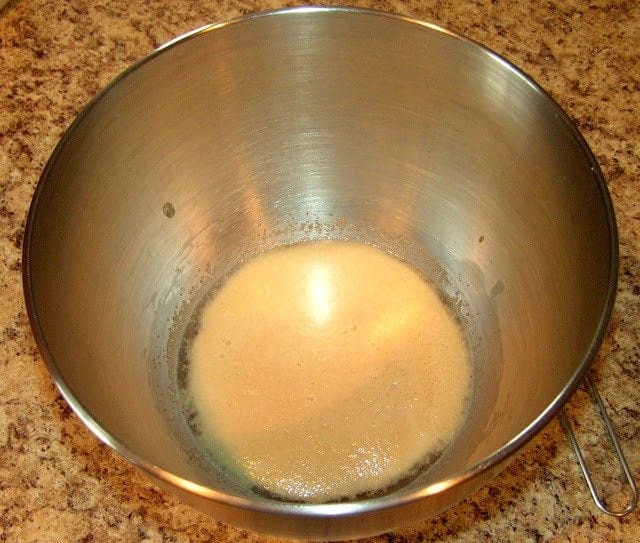
STEP 2: DISSOLVE THE YEAST AND ACTIVATE IT BY PROOFING
This is a simple process that takes about 5 minutes. You can see a picture below of what yeast looks like when it’s proofed. It’s possible to kill the yeast if you use too hot of water, so aim for slightly warmer than lukewarm, or about 105°F. Combine warm water, yeast, and 1 TBSP of the granulated sugar in your mixing bowl. Give it a quick stir and then let it sit for 5 minutes. You’ll begin to see the yeast puff up until it covers the entire surface of the water.
STEP 3: ADD REMAINING INGREDIENTS AND MIX
Add the rest of the sugar, the oil, salt, and flour (You can use all-purpose flour OR bread flour!), then mix using an electric mixer until it’s well combined, about 2 minutes. You can mix by hand but it will take longer.
STEP 4: KNEAD THE BREAD
You might be thinking, “Wait! It’s already mixed!” Ha! Not so fast! Going through the process of kneading bread dough is crucial for bread with great texture. Kneading dough allows the gluten to form which enables the dough to rise better, be lighter, and fluffier. you can knead by hand or with a mixer. I use the dough hook on my mixer and knead for 7 minutes. If you knead by hand, you’ll want to knead for 10-11 minutes, depending on how consistent you are.
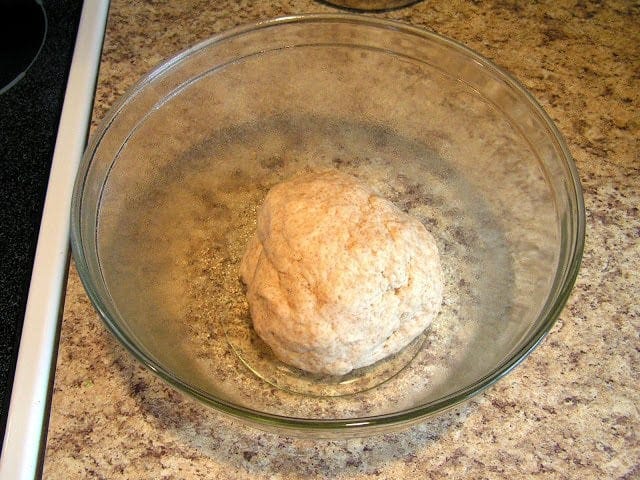
STEP 5: FIRST RISE
Place your lovely smooth, elastic bread dough in an oiled bowl and cover it with plastic wrap or a clean towel. I think plastic wrap works better because it traps hot air inside and thus, my dough requires a shorter first rise. Be sure to spray the side of the plastic wrap that will touch the dough with the oil!
If your house is cool, your bread will take longer to rise. In the wintertime when my house is cooler than normal, I like to turn the oven on for 2-3 minutes, then turn it off and let the bowl of dough rise in there. The oven traps the heat for a long time and it’s the perfect atmosphere for rising dough.
STEP 6: PUNCH DOUGH AND SHAPE IT
Punching the dough down quickly releases any air pockets that have developed and helps your bread have a more consistent rise and texture. Shape your dough by rolling it gently into a ball and rolling it 2 or 3 times on the countertop so that the ball is more oblong. I usually punch down and shape the dough quickly, then place it in a greased bread pan.

STEP 7: SECOND RISE
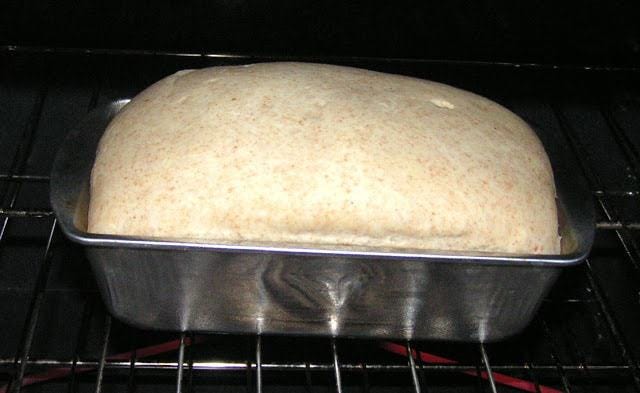
I like to do my second rise in a warm oven that’s not turned on. I turn the oven on just before I punch my dough down, then turn it off once I place the dough in the oven for the 2nd rise. It’s really only on for a minute or two, which is fine! The second rise will help shape your loaf of bread and takes about 30 minutes.
STEP 8: BAKE THE BREAD
You’re nearly there! Bread bakes for about 30-40 minutes. Do you know what I do to make sure my bread is perfectly cooked? I use a digital cooking thermometer. Fully cooked bread will be 190-200 degrees F. Bread recipes that include milk will need to cook until 200 degrees, but since this one doesn’t, I take it out once it reaches 190 degrees. The top will be golden brown.
STEP 9: COOL THE BREAD
Cool baked bread in the pan for 10-15 minutes, then overturn the pan and turn the loaf out onto a cooling rack or folded towel to finish cooling. If you leave the bread in the pan for much longer than that, you’ll steam it, which may cause some parts of your loaf to go soggy. No one likes soggy bread!